
How to Prepare Products for Professional Photography: Complete Pre-Shoot Checklist
The single biggest factor determining whether your product photography shoot goes smoothly or turns into an expensive disaster is what happens before the photographer touches a camera: product preparation.
After receiving thousands of product shipments from brands over seven years, we've seen everything from perfectly prepared samples to complete chaos. The difference in the final results and project costs is dramatic. Let's walk through exactly how to prepare products for professional photography to maximize quality and minimize reshoot costs.
Why Preparation Matters More Than You Think
Product preparation affects every part of the photography process, from the shoot timeline to the final image quality. Even the most skilled photographer can only do so much with wrinkled clothing, dusty products, damaged packaging, or dirty samples.
When products arrive camera-ready, they move through the studio more efficiently, keeping production on schedule and helping avoid unnecessary delays. Poorly prepared products often require extra styling, cleaning, steaming, or troubleshooting before they can be photographed, which can slow down delivery and sometimes add costs. Proper prep also helps prevent the most expensive kind of photography: the kind that has to be done twice because the samples weren’t ready the first time.
Well-prepared products also make for smoother professional relationships. Studios remember brands that send organized, clean, shoot-ready samples, and those brands are often easier to prioritize when schedules get tight. Most importantly, the return on photography investment increases when images show products at their absolute best, which requires proper preparation.
The Universal Preparation Checklist
Regardless of product category, certain preparation steps apply universally:
Inventory verification before shipping ensures you're sending everything needed. Check your shot list against physical samples, as missing products discovered after samples arrive at the studio derail timelines.
Condition inspection catches problems before shipping. Examine each product for damage, defects, stains, or issues that make them unsuitable for photography. Replace damaged samples before shipping.
Cleaning removes dust, fingerprints, lint, and debris. Every product should be spotless before shipping. Even products arriving in sealed packaging should be checked and cleaned if needed.
Organizing products by category or shot list order helps studios process your products efficiently. When 100 products arrive jumbled together, sorting them costs time.
Clear labeling identifies each product and matches it to shot lists. Simple labels like "Product #1: Blue Dress - Size M" prevent confusion and errors.
Protective packaging prevents damage during shipping. Individual products should be wrapped or separated to avoid scratching, wrinkling, or damage in transit.
Documentation, including shot lists, special instructions, and contact information, ensures the studio has everything needed. Don't rely on email alone; include printed instructions with the shipment.
Apparel Preparation
Clothing requires category-specific preparation for professional photography:
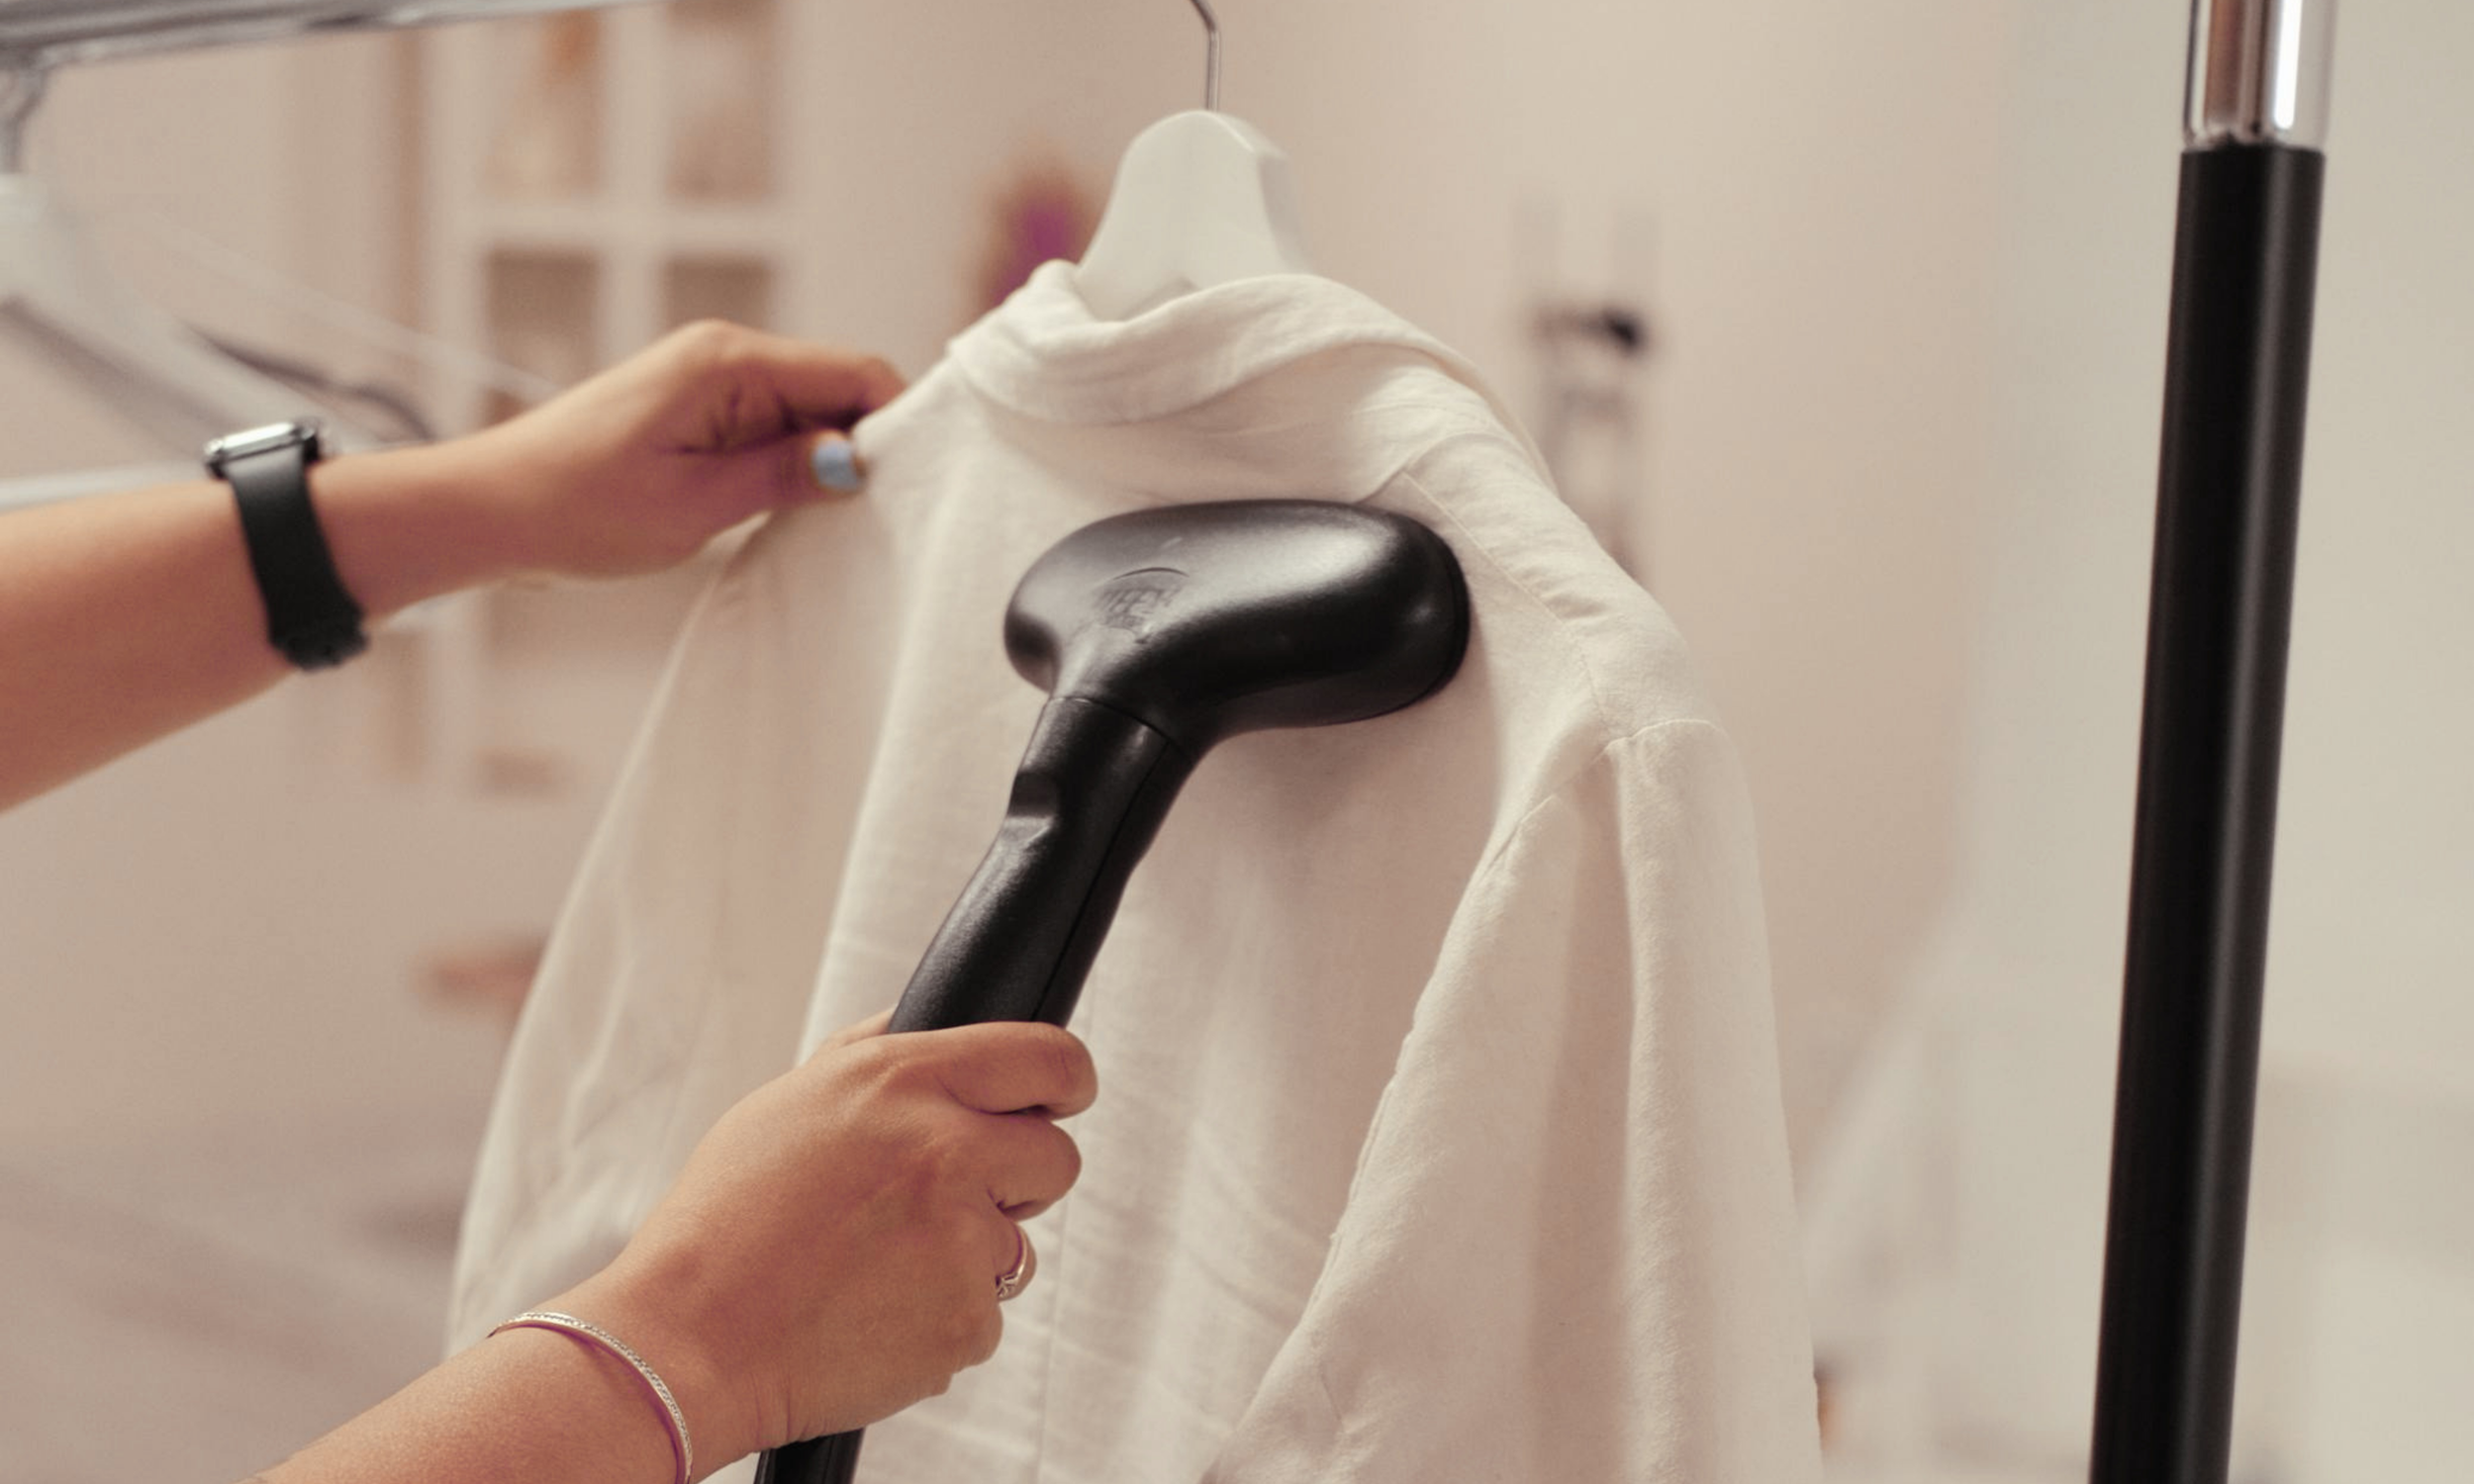
Steaming or ironing removes wrinkles completely. Don't assume the studio will steam everything. While professional studios include some steaming, severely wrinkled garments waste time and sometimes can't be fully corrected.
Size selection matters. Send the size that will photograph best. For flat-lay photography, medium sizes typically work best because they're not too small or too large to arrange nicely.
Tags and labels should be removed or tucked away unless they're meant to be visible. Dangling price tags or size labels look unprofessional in photos.
Buttons, zippers, and closures should be functional and present. Missing buttons or broken zippers need replacement before photography.
Color accuracy verification ensures you're sending the correct colorway. If you're supposed to send "navy blue" but accidentally send "royal blue," the photography won't match your needs.
Quantity verification matters for multi-color launches. If you're photographing 8 colorways of a dress, ensure all 8 arrive.
Styling accessories, if needed, should be included. If a dress photographs better with a belt, include the belt. Don't assume the studio has the exact accessory you envision.
Accessories and Jewelry Preparation
Handbags, shoes, jewelry, and accessories need specific preparation:
Polishing removes fingerprints, smudges, and tarnish from metals. Jewelry should be polished until it shines. Leather goods should be cleaned and conditioned.
Stuffing materials for handbags help maintain shape. If bags photograph better when stuffed, include appropriate stuffing materials or let the studio know they'll need to stuff them.
Pairs and sets must be complete. Sending one earring when the set includes two creates problems. Verify all pieces are included.
Hardware functionality should be tested. Clasps, zippers, and closures should work properly.
Protective packaging for delicate items prevents damage. Jewelry should be individually wrapped. Delicate items need appropriate protection.
Dust removal is critical. Dust shows dramatically in close-up photography. Clean everything thoroughly.
Beauty and Cosmetics Preparation
Beauty products have specific preparation requirements:
Cap and pump alignment matters enormously, as crooked caps or misaligned pumps look unprofessional. Check that all tops are straight and properly positioned.
Label positioning should be consistent and aligned. If products have labels, they should all face the same direction and be straight.
Fill levels should be appropriate. Half-empty bottles photograph poorly. Send full or nearly full products.
Shade organization and labeling prevent confusion when photographing multiple colors. Clear labels indicating shade names will help prevent mistakes.
Cleanliness is critical. Bottles should be spotless. Wipe down all surfaces to remove fingerprints, product residue, or manufacturing residue.
Testers or swatches, if needed, should be included. If you want swatch photography, clarify what you're sending for that purpose.
Packaging samples, if relevant, should be included. If you want both product and packaging photographed, send both.

General Product Preparation
Other product categories benefit from category-specific preparation:
Assembly requirements should be clarified. If products need assembly before being photographed, either assemble them or provide clear instructions and necessary tools.
Battery or power needs should be addressed. Electronic products should be charged or include batteries if they need to be powered on for photography.
Protective films and stickers should be removed unless they're part of the product. Remove all shipping protection unless instructed otherwise.
Product configuration should be considered. If a product has multiple positions or configurations, specify which to photograph or send it in the correct configuration.
The Packaging Checklist
How you pack products for shipping to the studio matters:
Sturdy boxes prevent damage during shipping. Use new, rigid boxes appropriate for the contents.
Individual wrapping protects products from rubbing against each other. Tissue paper, bubble wrap, or foam keep products separate and safe.
Properly layering products prevents pressure damage. Don't stack heavy items on delicate items, and use dividers or padding between layers. Fill any voids with packing materials to prevent shifting during shipping.
Weather protection matters for products sensitive to moisture or temperature. Consider the climate when shipping.
Clearly label each package with the correct studio address and note whether it contains fragile items. Inside, include documentation that lists the contents, references the project, and provides contact information.
Common Preparation Mistakes That Cost Money
We commonly see these product preparation errors that create delays, add costs, and cause avoidable confusion during the photography process:
Sending samples in poor condition is one of the biggest issues. Wrinkled clothing, dusty products, or damaged items can't be photographed well without extensive preparation. In some cases, the product may not be usable at all.
Missing items from the shot list delay the project, especially if the studio has to wait for a second shipment before completing the shoot. The same applies to incorrect sizes, colors, or styles.
Quantity matters if a product needs to be photographed from multiple angles. The studio may need more than one sample on hand, especially for items that require styling, handling, or detail shots. Sending too few samples can limit what can be captured efficiently.
Lack of organization creates another layer of unnecessary risk. When products arrive without clear labels, packing lists, or project documentation, the studio is left to make assumptions about what each item is, how it should be photographed, and who to contact with questions.
When to Let the Studio Handle Preparation
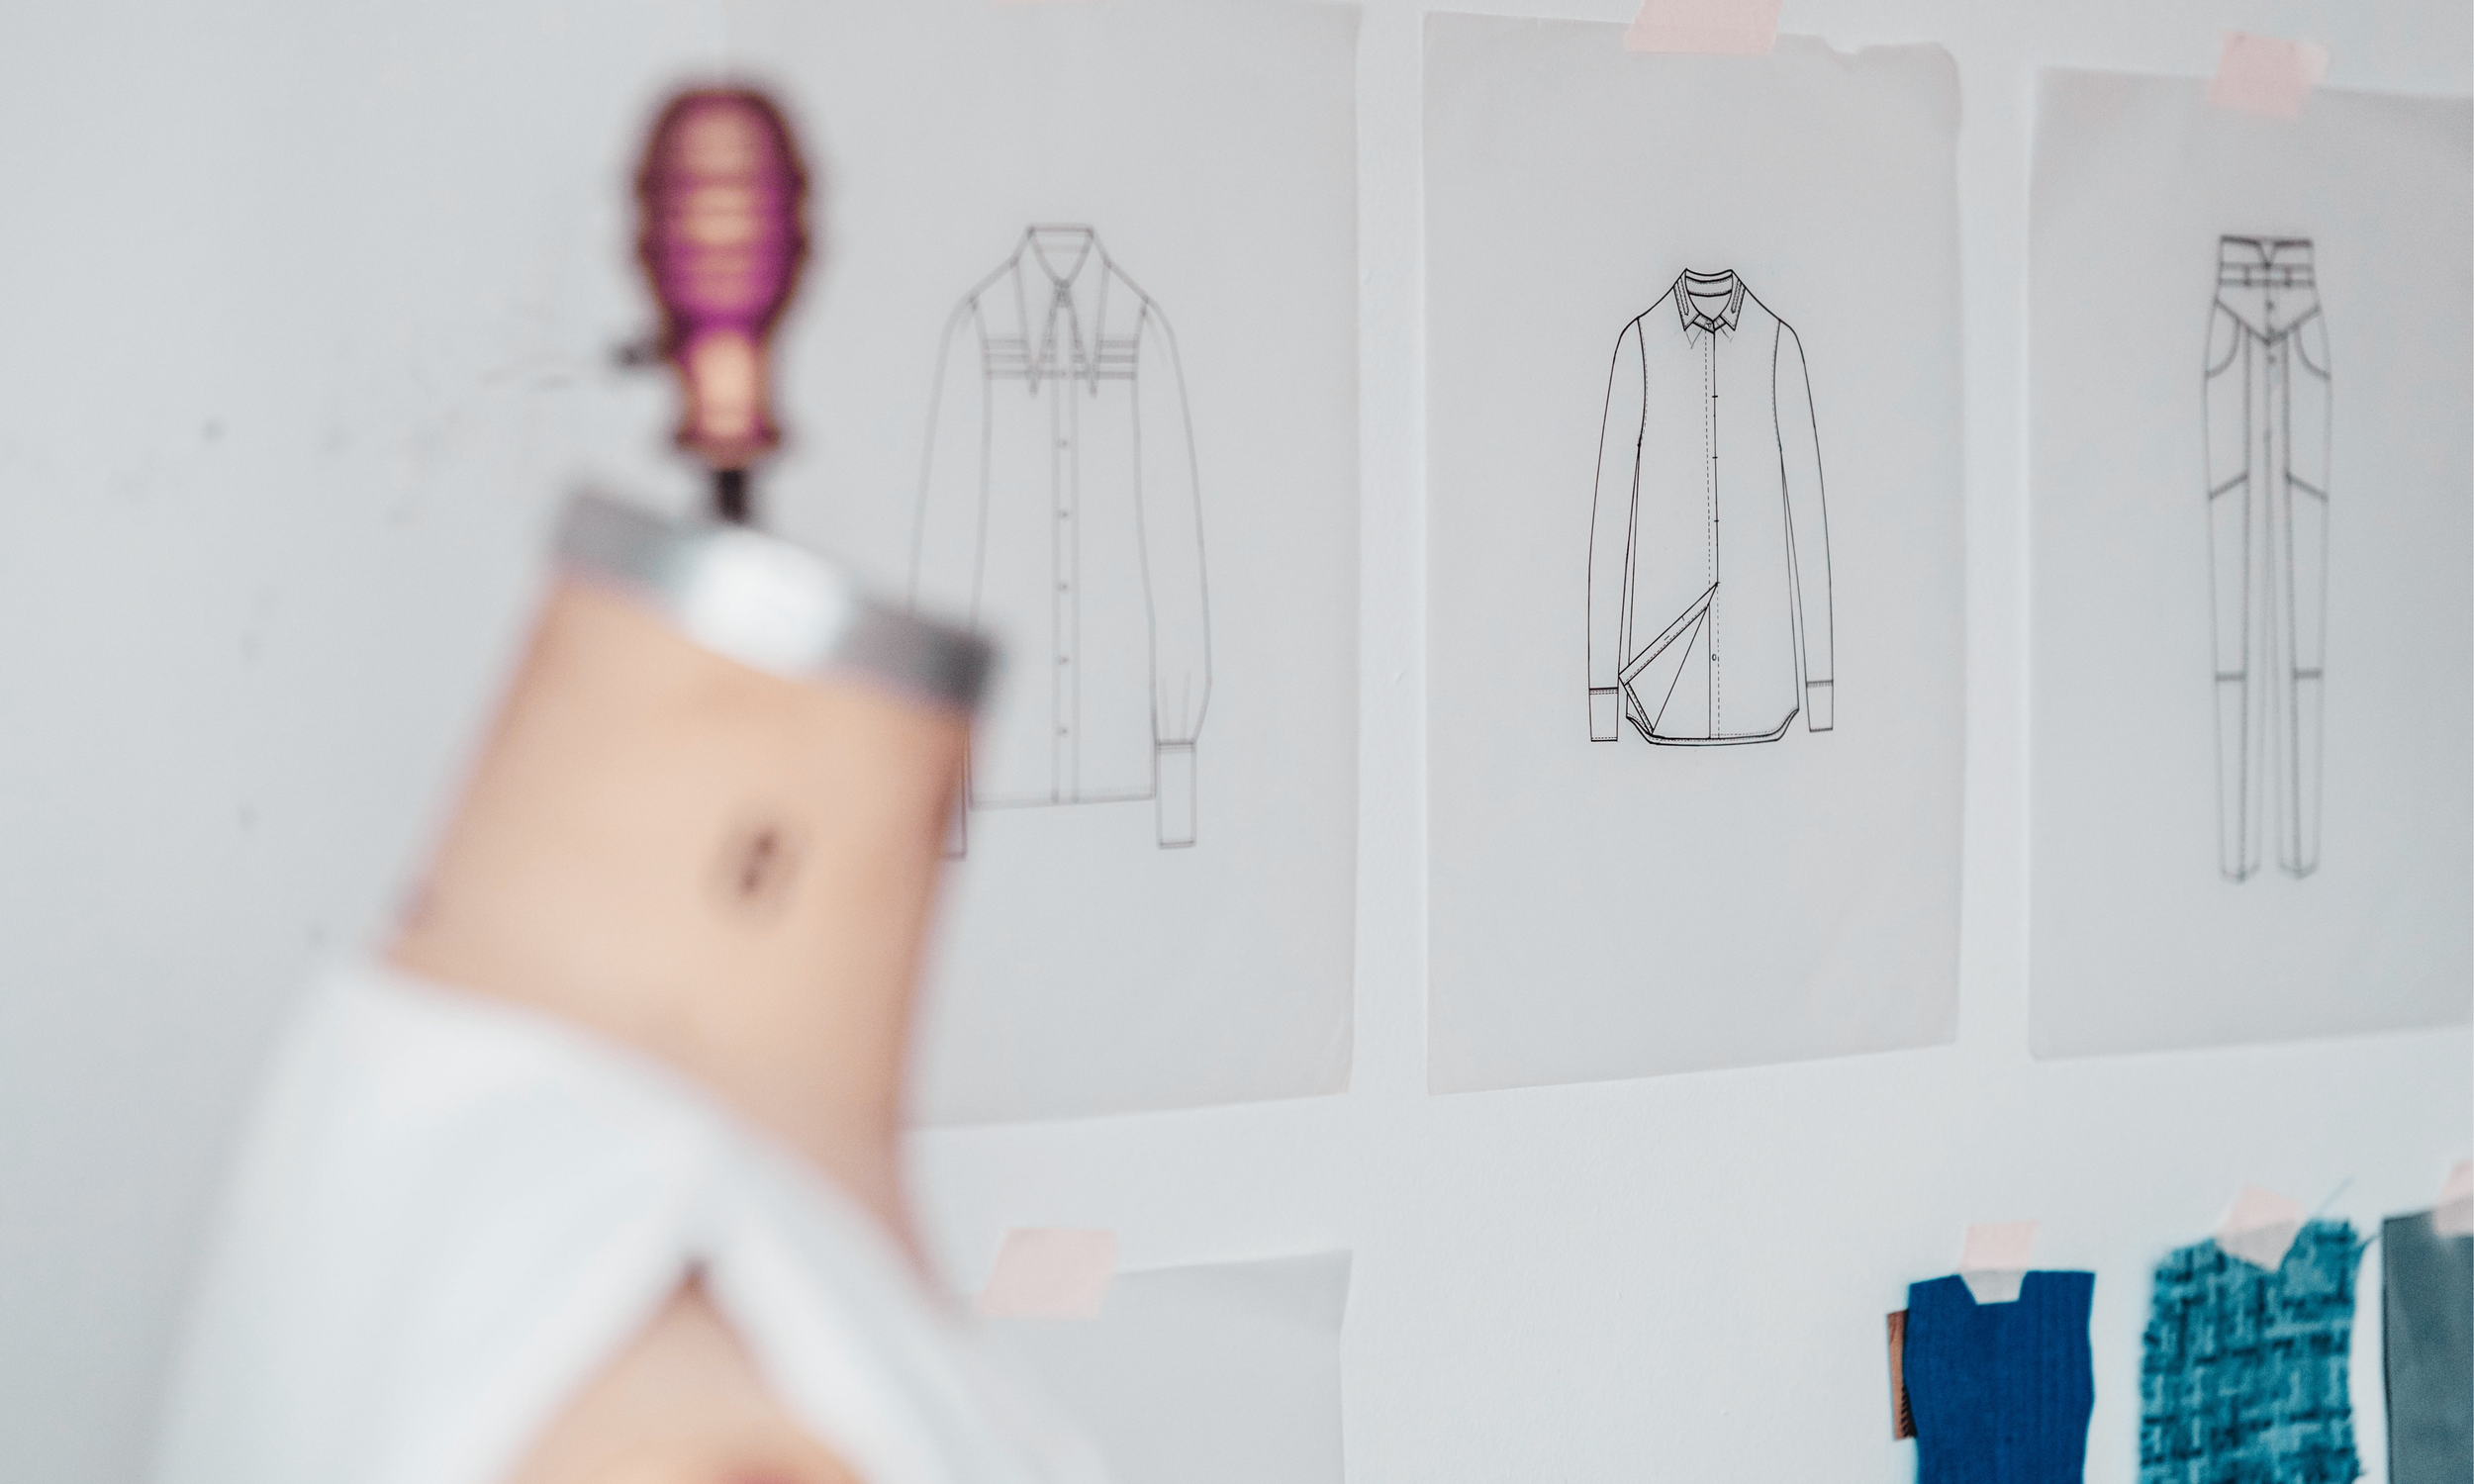
Professional studios ensure all products are ready for their close-up and include basic preparation as part of their service. Basic cleaning, dust removal, steaming apparel, product arrangement, and styling are all standard parts of getting items camera-ready. Minor adjustments, such as straightening labels, aligning caps, or positioning products for the best angle, are also expected.
However, there are limits to what a studio can reasonably fix. Major condition issues may result in additional costs or prevent the item from being photographed altogether.
The best approach is to send products in retail-ready condition and let the studio handle the final touches. This keeps the shoot moving efficiently while giving the team the best foundation to create polished, professional images.
Communication Checklist, Pre-Shoot Verification Call, and What Happens After Products Arrive
Before shipping products to the studio, confirm that all key details are aligned. The studio should be ready to receive your samples on the expected date and understand the full project scope, including the shot list, timeline, and any special requirements.
A brief pre-shoot call or email exchange can help prevent confusion before products are in transit. Use this opportunity to verify that the product list matches what the studio is expecting, flag any challenging or delicate items, confirm the shipping method and arrival date, and make sure both sides know who to contact if questions come up.
Once products arrive, the studio will typically check the shipment against the shot list, assess the condition of each item, and organize the samples for production. If anything is missing, damaged, mislabeled, or unclear, those issues can be flagged right away so they can be addressed before photography begins.
Making Product Preparation a Competitive Advantage
Brands that consistently send well-prepared samples build reputations that help them:
Get priority scheduling when studios are busy because they're easy to work with.
Sometimes receive better pricing because studios know the project will go smoothly.
Build long-term relationships with studios that want to work with them repeatedly.
Achieve better results because time saved on basic prep can go toward perfecting the images.
The bottom line on product preparation is simple: invest an hour preparing your products well and save hours of the studio’s time, prevent delays, avoid reshoot costs, and get better final images. Whether you're sending 10 products or 500 to a photography studio, proper preparation is the foundation of successful photography projects.
The time you invest in cleaning, organizing, and preparing products before they ship is the best return on investment in the entire photography process. Ready to discuss your upcoming photography project? We'll provide specific preparation guidelines for your product category to ensure smooth shooting and excellent results.